A salon-quality pedicure feels wonderful, but it costs time and money. The good news? You can get soft, beautiful feet right at home. With the right products and a simple routine, home pedicure becomes an easy, relaxing self-care habit.
This guide will walk you through the essential products you need and a clear step-by-step process. No fancy skills required — just a little patience and the right tools.
Why Home Pedicure?
Home pedicure saves you money. It also lets you work on your own schedule. You can use products you trust, and you avoid the hygiene risks of some salons. Plus, giving yourself a pedicure can be a calming ritual after a long week.
Best Products for Home Pedicure
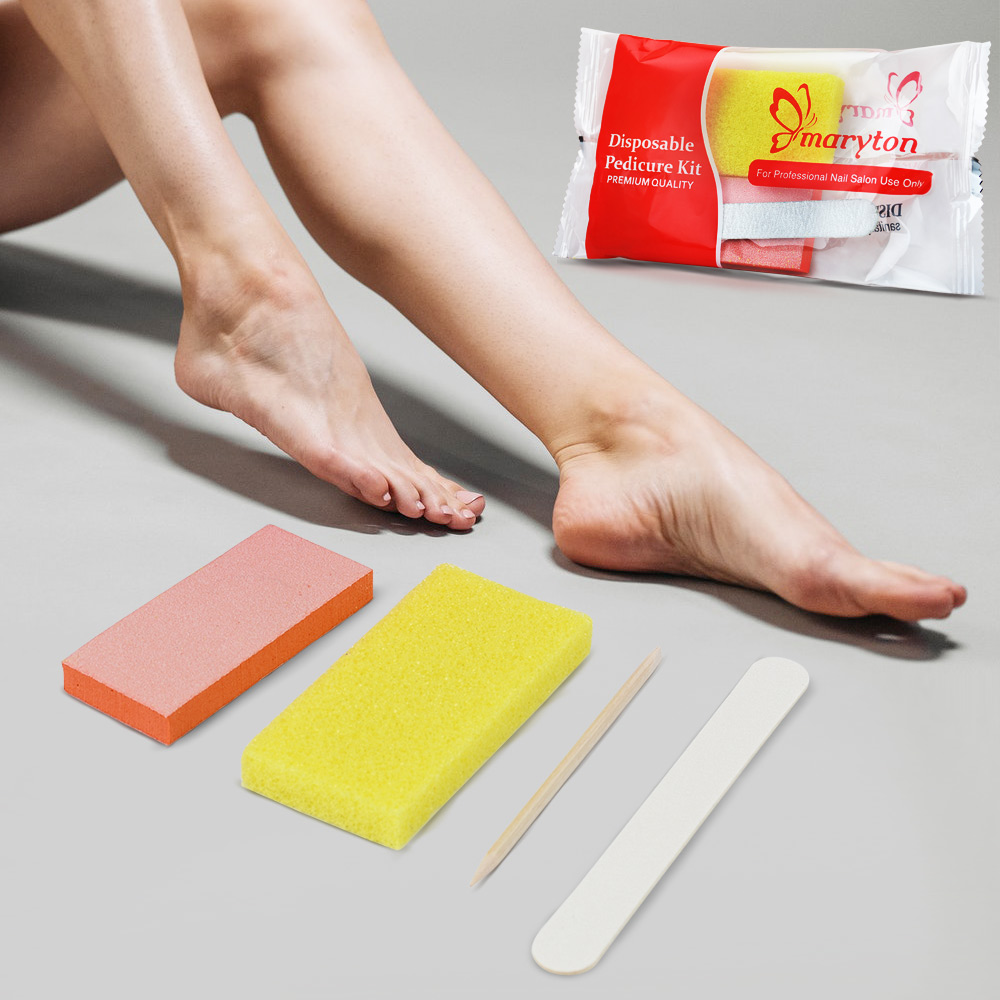
You don’t need a dozen items to start. Focus on these core products. Most are affordable and last for many uses.
1. Foot Soak (Epsom Salt or Specialized Soak)
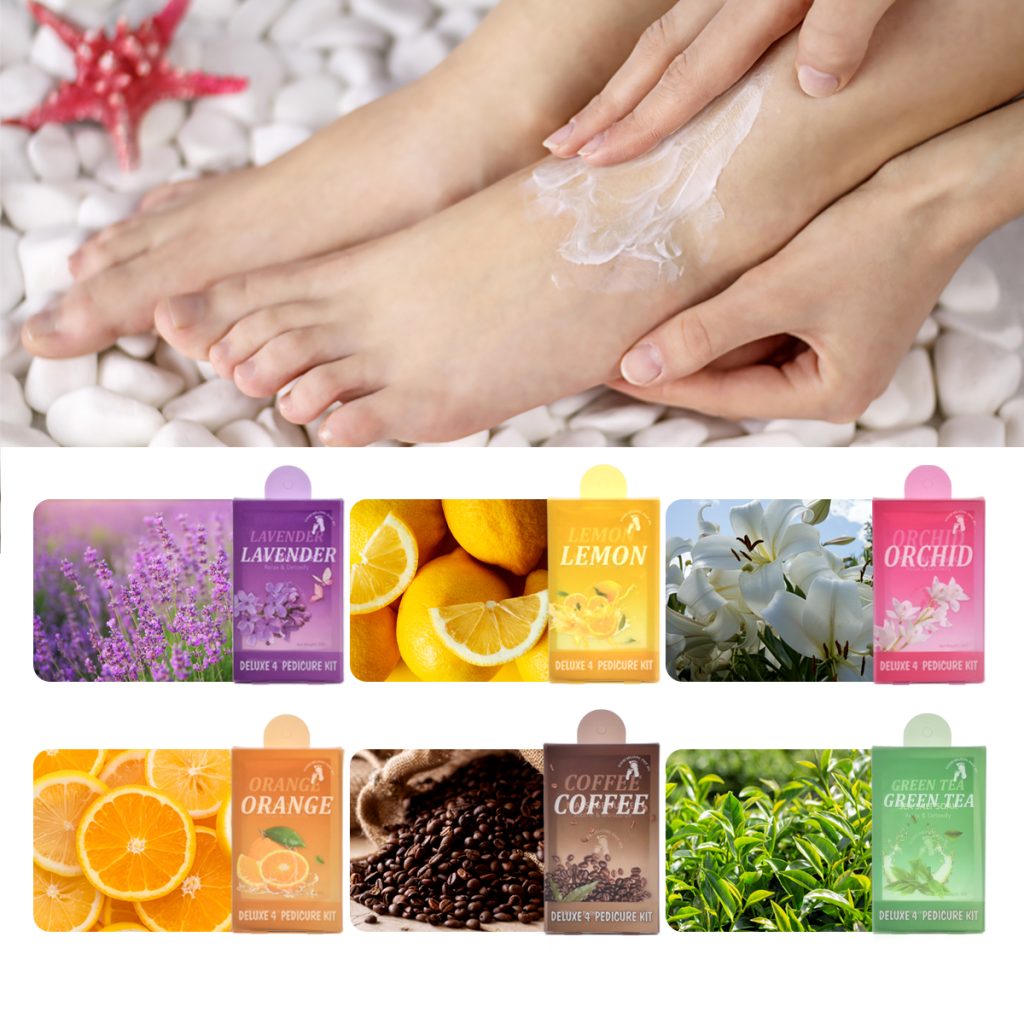
Epsom salt is a classic choice. It softens hard skin and soothes tired muscles. Look for a plain, unscented bag — it’s cheap and effective. If you want extra relaxation, choose a soak with lavender or tea tree oil. Tea tree oil also fights foot odor naturally.
2. Foot Scrub (Exfoliator)
A good scrub removes dead skin cells. You can buy a sugar or salt-based scrub made for feet. Or make your own: mix coarse sugar with coconut oil. Avoid body scrubs that are too gentle — feet need stronger grains.
3. Callus Remover (Tool or Cream)
For rough heels and hard skin, you need a callus remover. A foot file (metal or microplane style) works fast. For a chemical option, try a callus-removing cream with urea or salicylic acid. Use these creams carefully and follow the label.
4. Cuticle Pusher & Nipper
Pushing back cuticles makes your toenails look longer and cleaner. A wooden orange stick or a metal cuticle pusher is fine. A small cuticle nipper trims hangnails. Only cut skin that is clearly loose — never cut live cuticles.
5. Toenail Clipper & File
Use a straight-edge toenail clipper, not a small fingernail clipper. Straight clippers prevent ingrown nails. After clipping, use a nail file to smooth sharp edges. A coarse grit file (100/180) is enough for home use.
6. Foot Lotion or Cream
Moisturizing is the most overlooked step. Thick creams with shea butter, glycerin, or urea work best. Avoid thin, runny lotions — they don’t last on tough foot skin. For very dry feet, look for a “foot balm” or “heel cream.”
7. Nail Polish (Optional)
If you like color, add a base coat, your chosen polish, and a top coat. A quick-dry top coat saves time and prevents smudges.
Step-by-Step Home Pedicure Guide
Set aside about 30–40 minutes. Sit in a comfortable chair, put a towel on the floor, and gather your products nearby.
Step 1: Remove Old Polish
Use an acetone-free nail polish remover. Acetone dries out nails and skin. Soak a cotton pad and wipe each toe clean.
Step 2: Soak Your Feet
Fill a basin or your bathtub with warm water (not hot). Add half a cup of Epsom salt or a foot soak. Soak for 10–15 minutes. This softens calluses and cuticles. While soaking, relax or read something light.
Step 3: Exfoliate
Take one foot out of the water. Scoop a small amount of foot scrub and massage it over your heel, sides, and ball of the foot. Pay extra time to rough areas. Rinse and repeat on the other foot. Pat your feet dry with a soft towel.
Step 4: Remove Calluses (Only When Skin Is Soft)
After soaking and exfoliating, your calluses are soft. Use a foot file gently on dry heels. File in one direction, not back and forth, to avoid tearing skin. Stop when the skin feels smooth but not raw. Never file on cracked or bleeding skin. If you use a callus cream, apply it now and wait as directed.
Step 5: Care for Cuticles
Gently push back your cuticles using a pusher or orange stick. Do not cut the cuticle itself — only trim hangnails or loose skin tags with a clean nipper. Cutting live cuticles can lead to infection.
Step 6: Clip and Shape Toenails
Clip your toenails straight across. Do not curve the corners. This prevents ingrown toenails. After clipping, use the nail file to smooth any rough edges. File in one direction.
Step 7: Moisturize Thoroughly
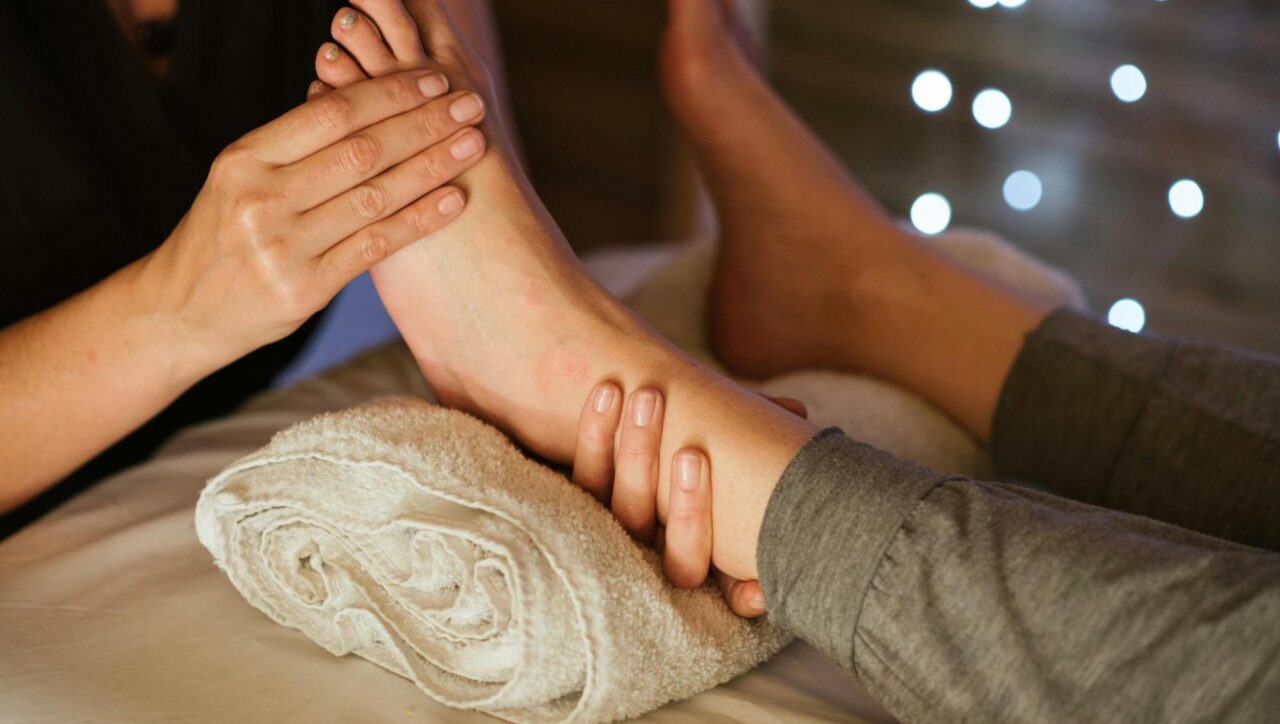
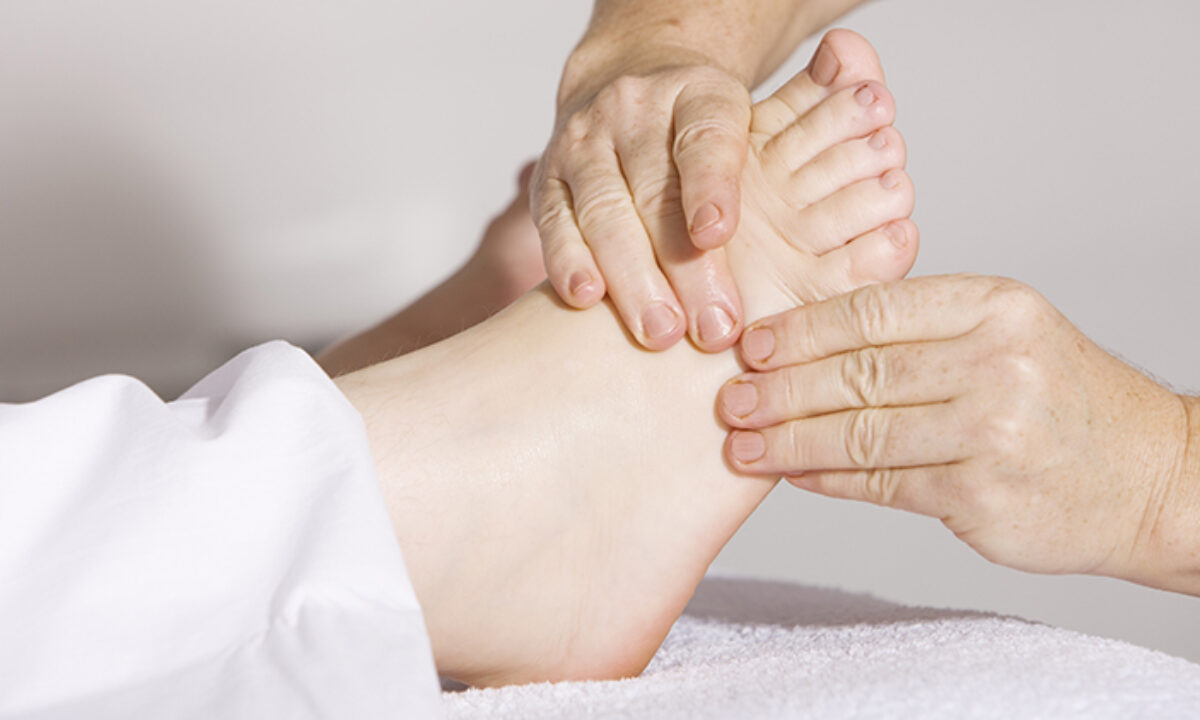
Apply a generous amount of foot lotion or cream to your entire foot — top, bottom, between toes, and around the heel. Massage for a minute until absorbed. For extra softness, put on cotton socks right after and leave them on for an hour (or overnight).
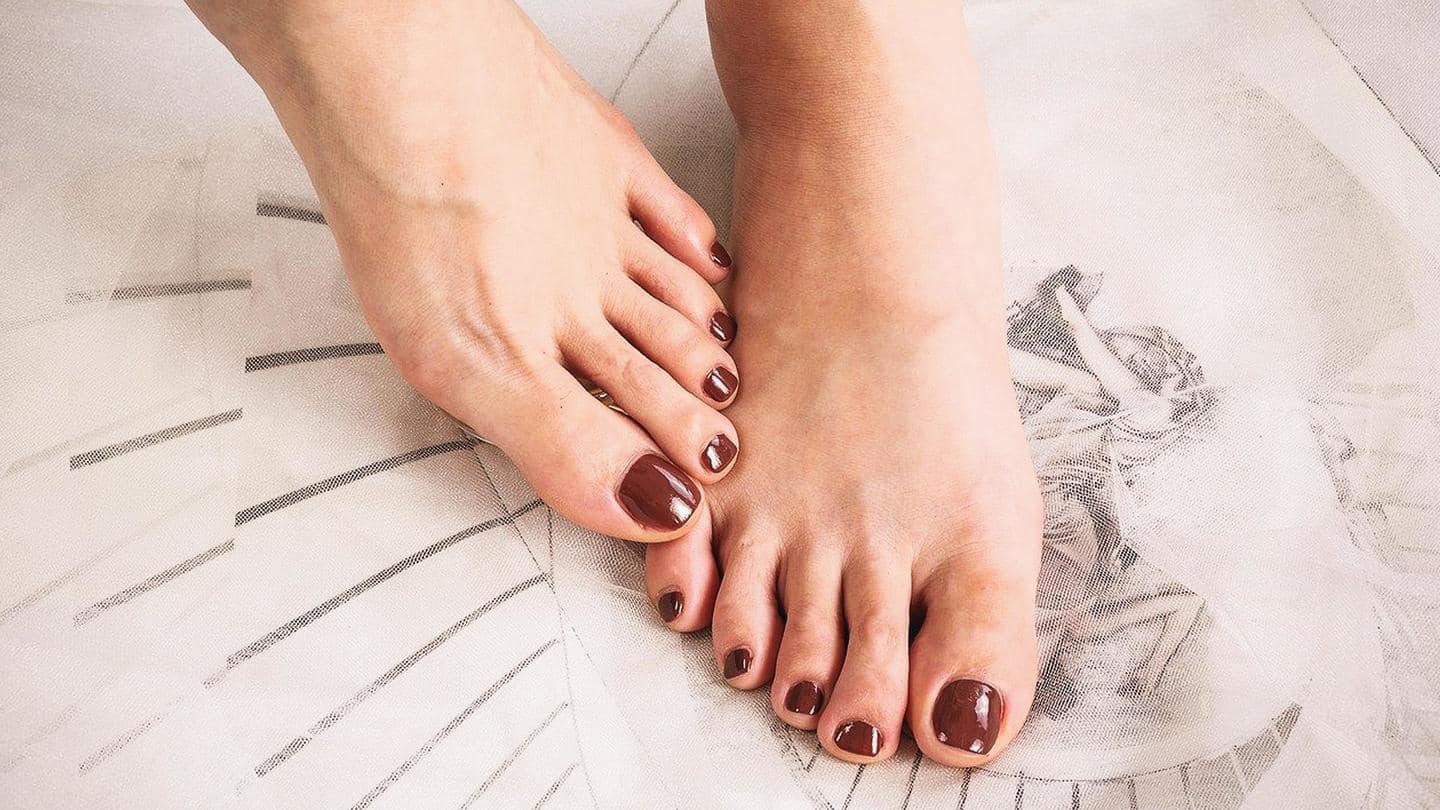
Step 8: Apply Nail Polish (Optional)
Wipe each nail with a little remover or alcohol to remove any lotion. Apply a thin base coat, then two thin coats of color, then a top coat. Let each coat dry for 1–2 minutes. Wait at least 10 minutes before putting on socks or shoes.
Pro Tips for Best Results
- Do not rush the soak. Soft skin makes every following step easier and safer.
- Use a separate towel for your feet to avoid spreading any fungus to other towels.
- Clean your tools after each use with soap and rubbing alcohol. This keeps them hygienic.
- Repeat once every 2–3 weeks for maintenance. If your feet are very dry, moisturize every night.
- Never share foot spa kits with others — it can spread infections like athlete’s foot.
When to Skip Home Pedicure
If you have open cuts, warts, active fungal infection, or diabetes-related foot issues, consult a doctor before doing a home pedicure. Diabetic foot care requires extra caution — many doctors recommend professional medical pedicures only.
Final Words
Home pedicure is not difficult. Start with just a few basic products: a soak, a scrub, a callus file, a moisturizer, and a nail clipper. Once you build the habit, your feet will stay smooth, healthy, and sandal-ready all year.
Give yourself one hour of care each month. Your feet carry you everywhere — they deserve it.
Read also: The Art of Foot Reflexology: A Guide to Soothing Soles
Related Posts